A step-by-step guide to getting brand photos for your business
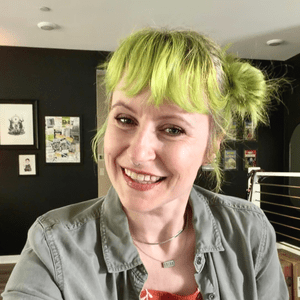
With the redesign of the Dare to Grow website, my new green bob, and the YEARS since my last brand update, it was time for new photos!
Taking photos for your business and website can be as easy as propping up your phone and standing in the good light when you feel cute one day. Or hiring a photographer to take photos at home, on location, or in a studio and guide you every step of the way.
But it can also be totally stressful, awkward, and an expense that feels slightly indulgent. (it’s not!)
Since my office is currently under construction (bookshelves are almost done) I put off professional photos for now and used my DIY skills for a quick turn around instead. I set my boyfriend up behind the camera and did the whole photoshoot at home.
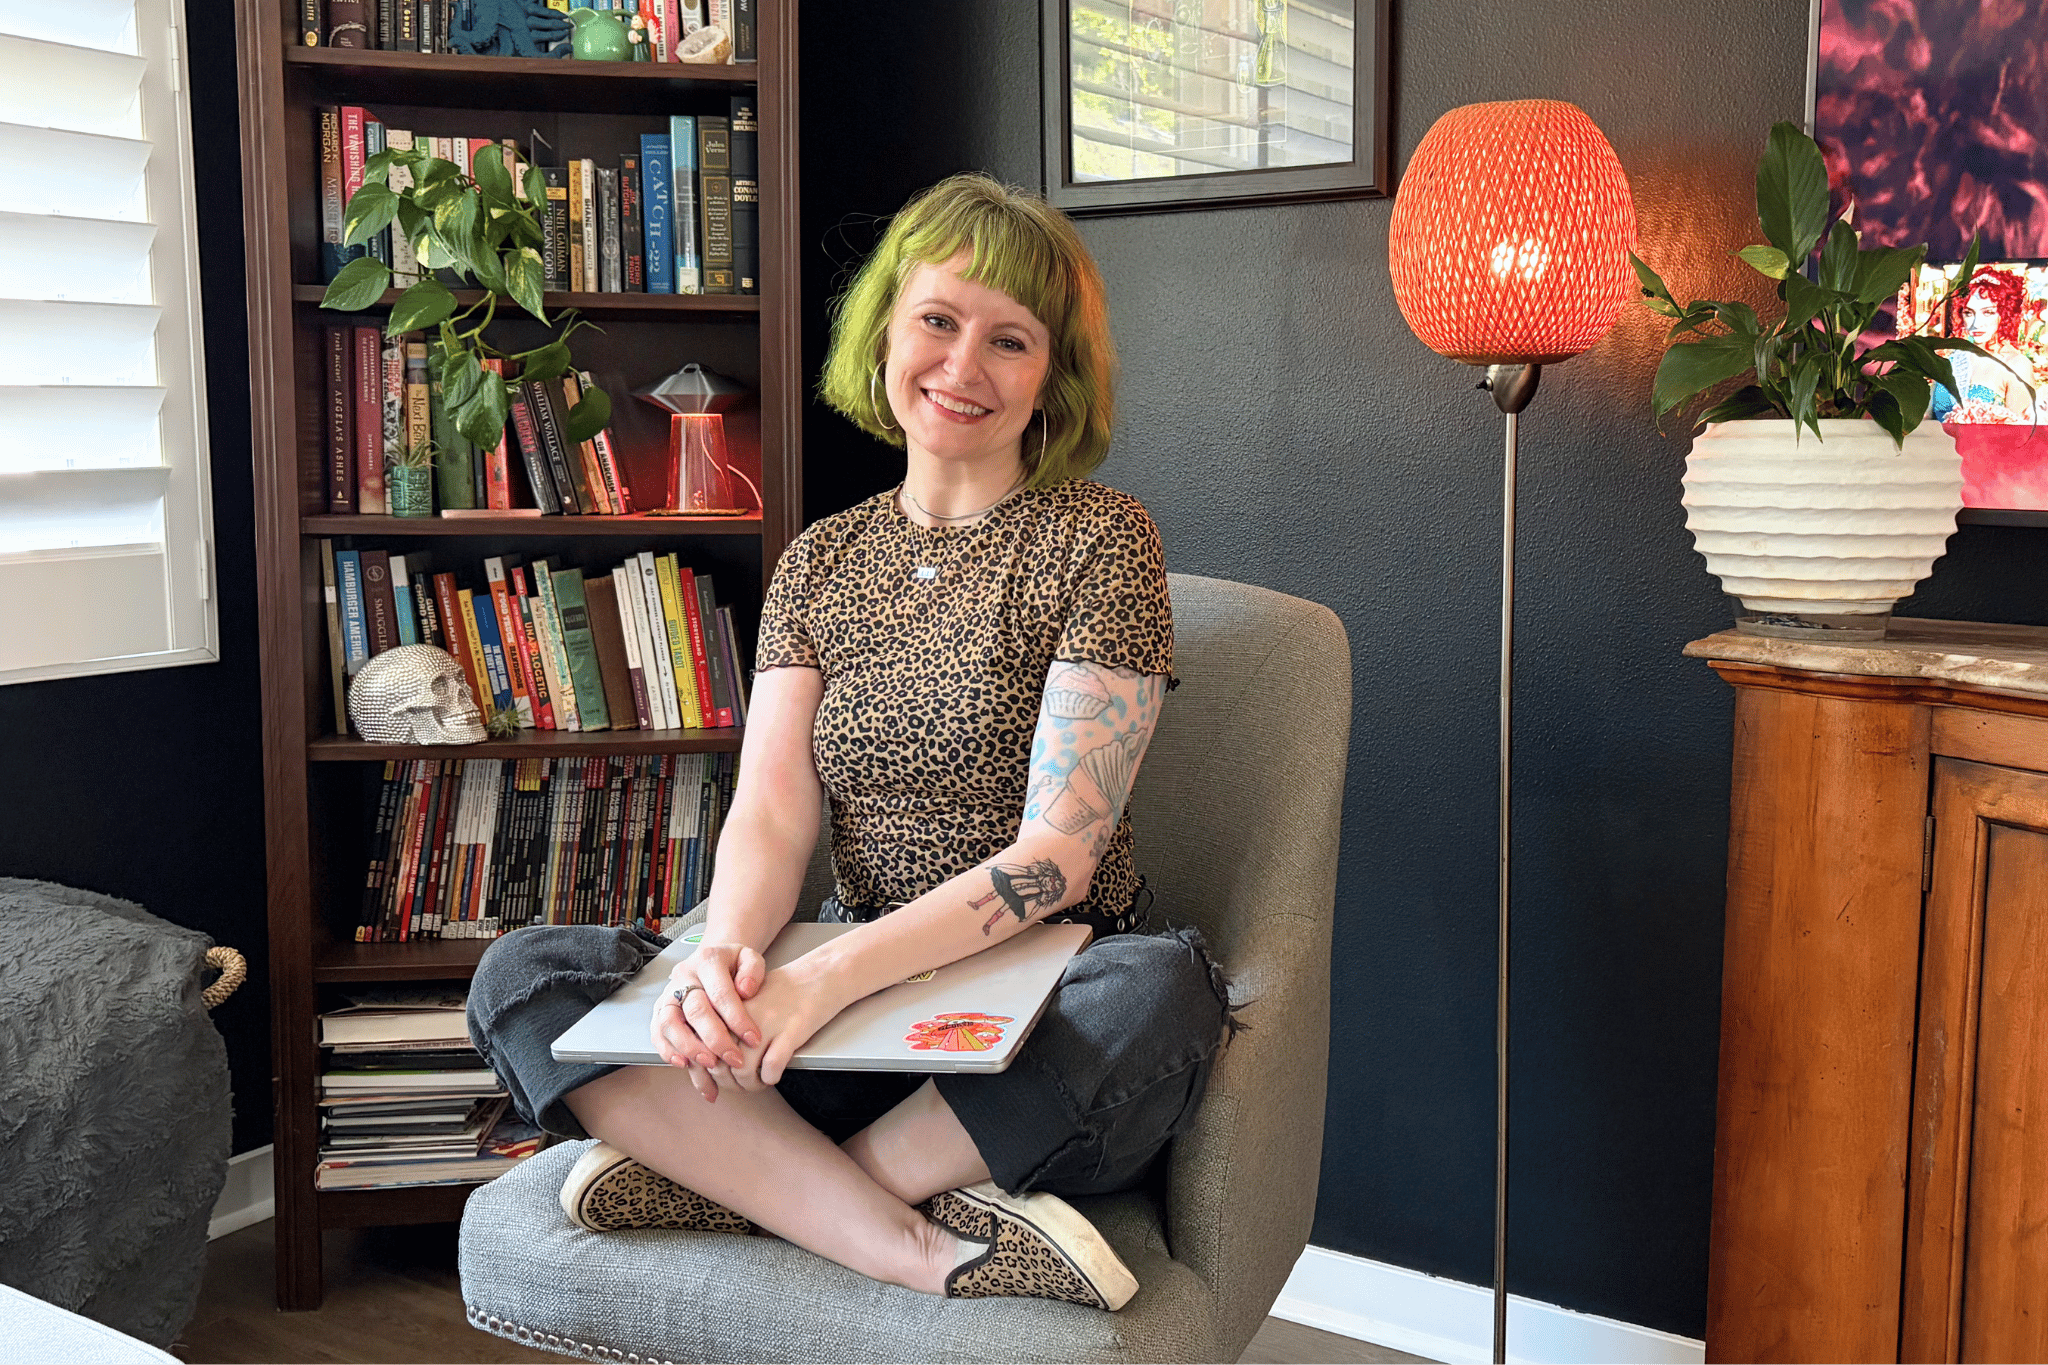
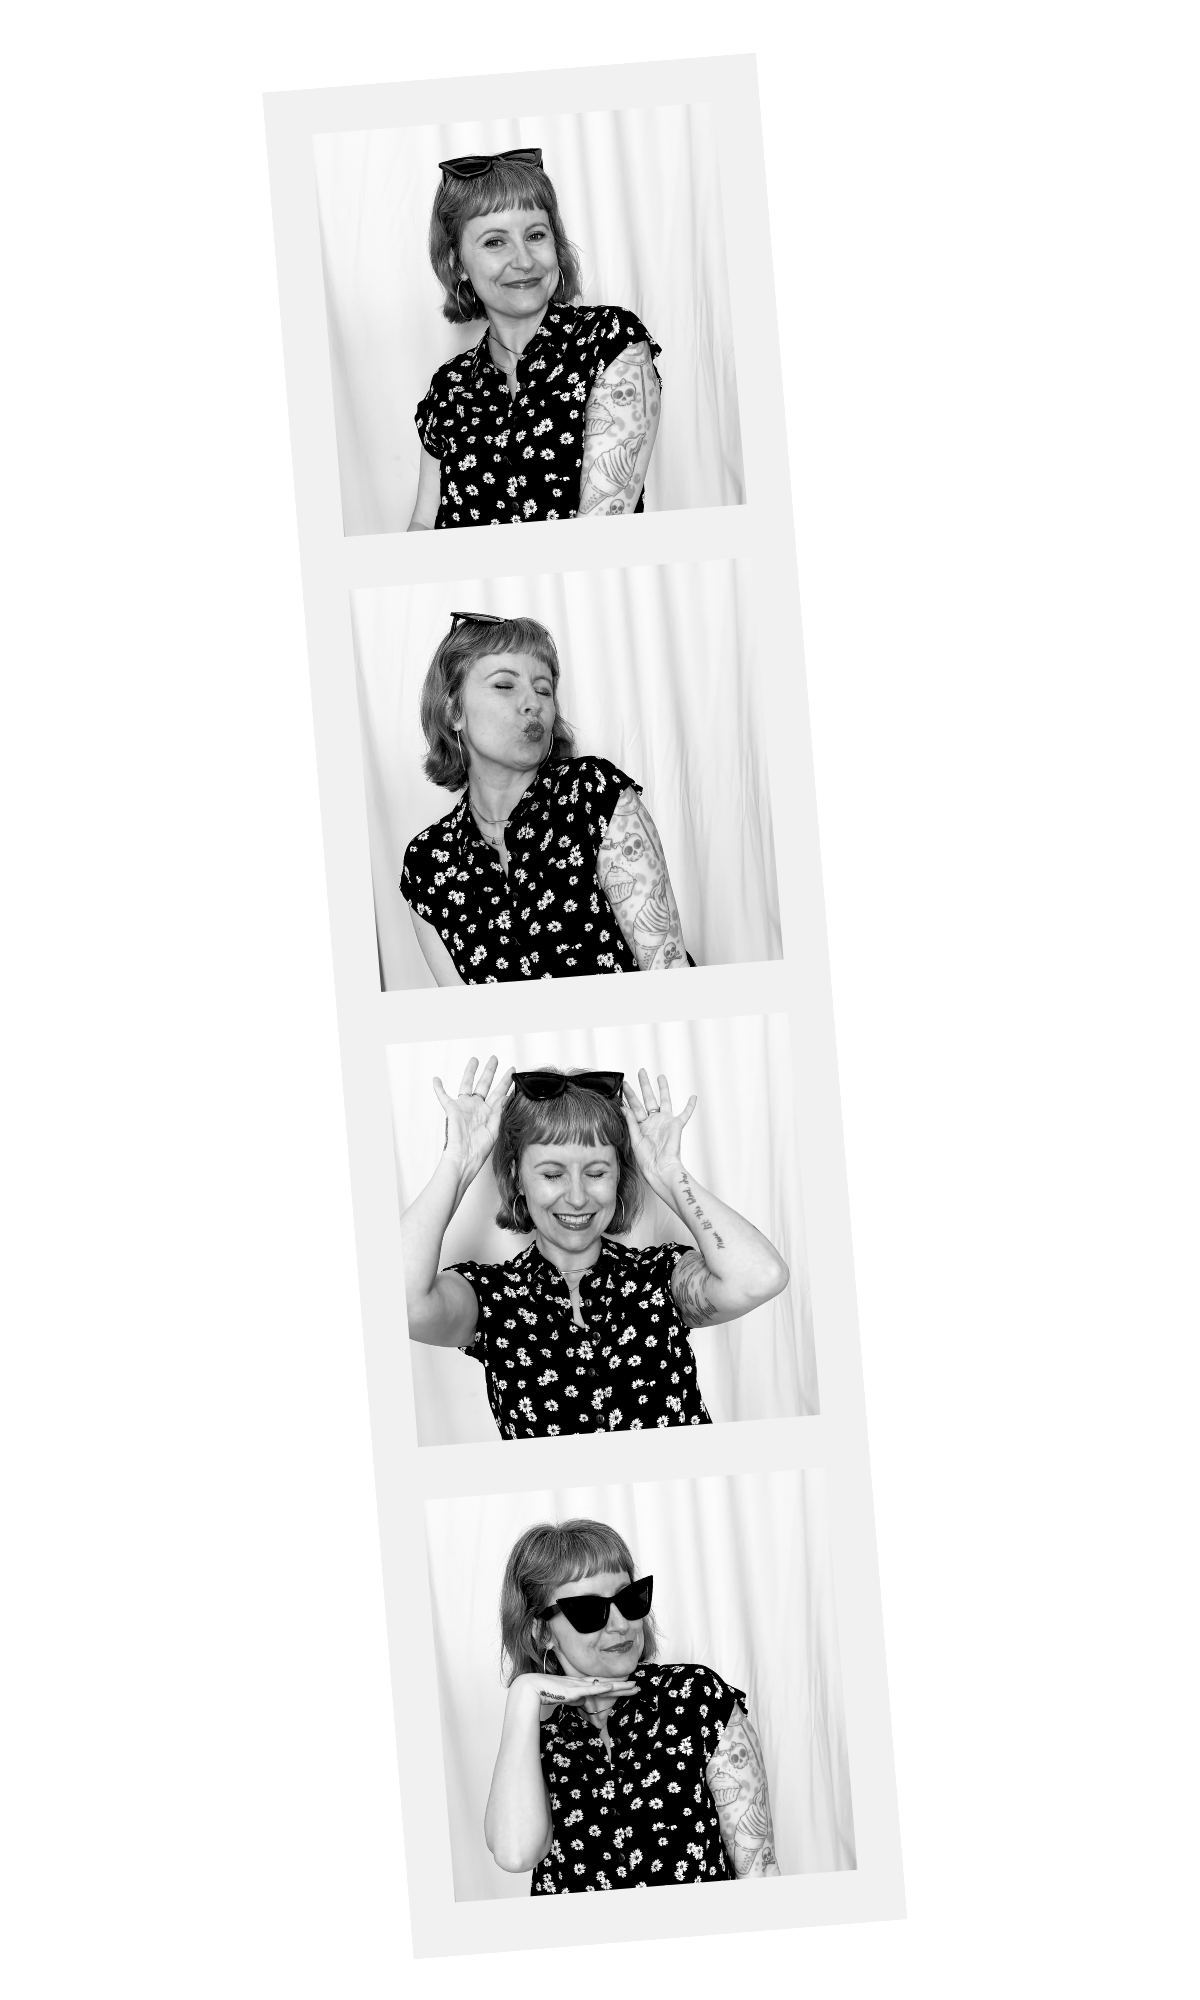
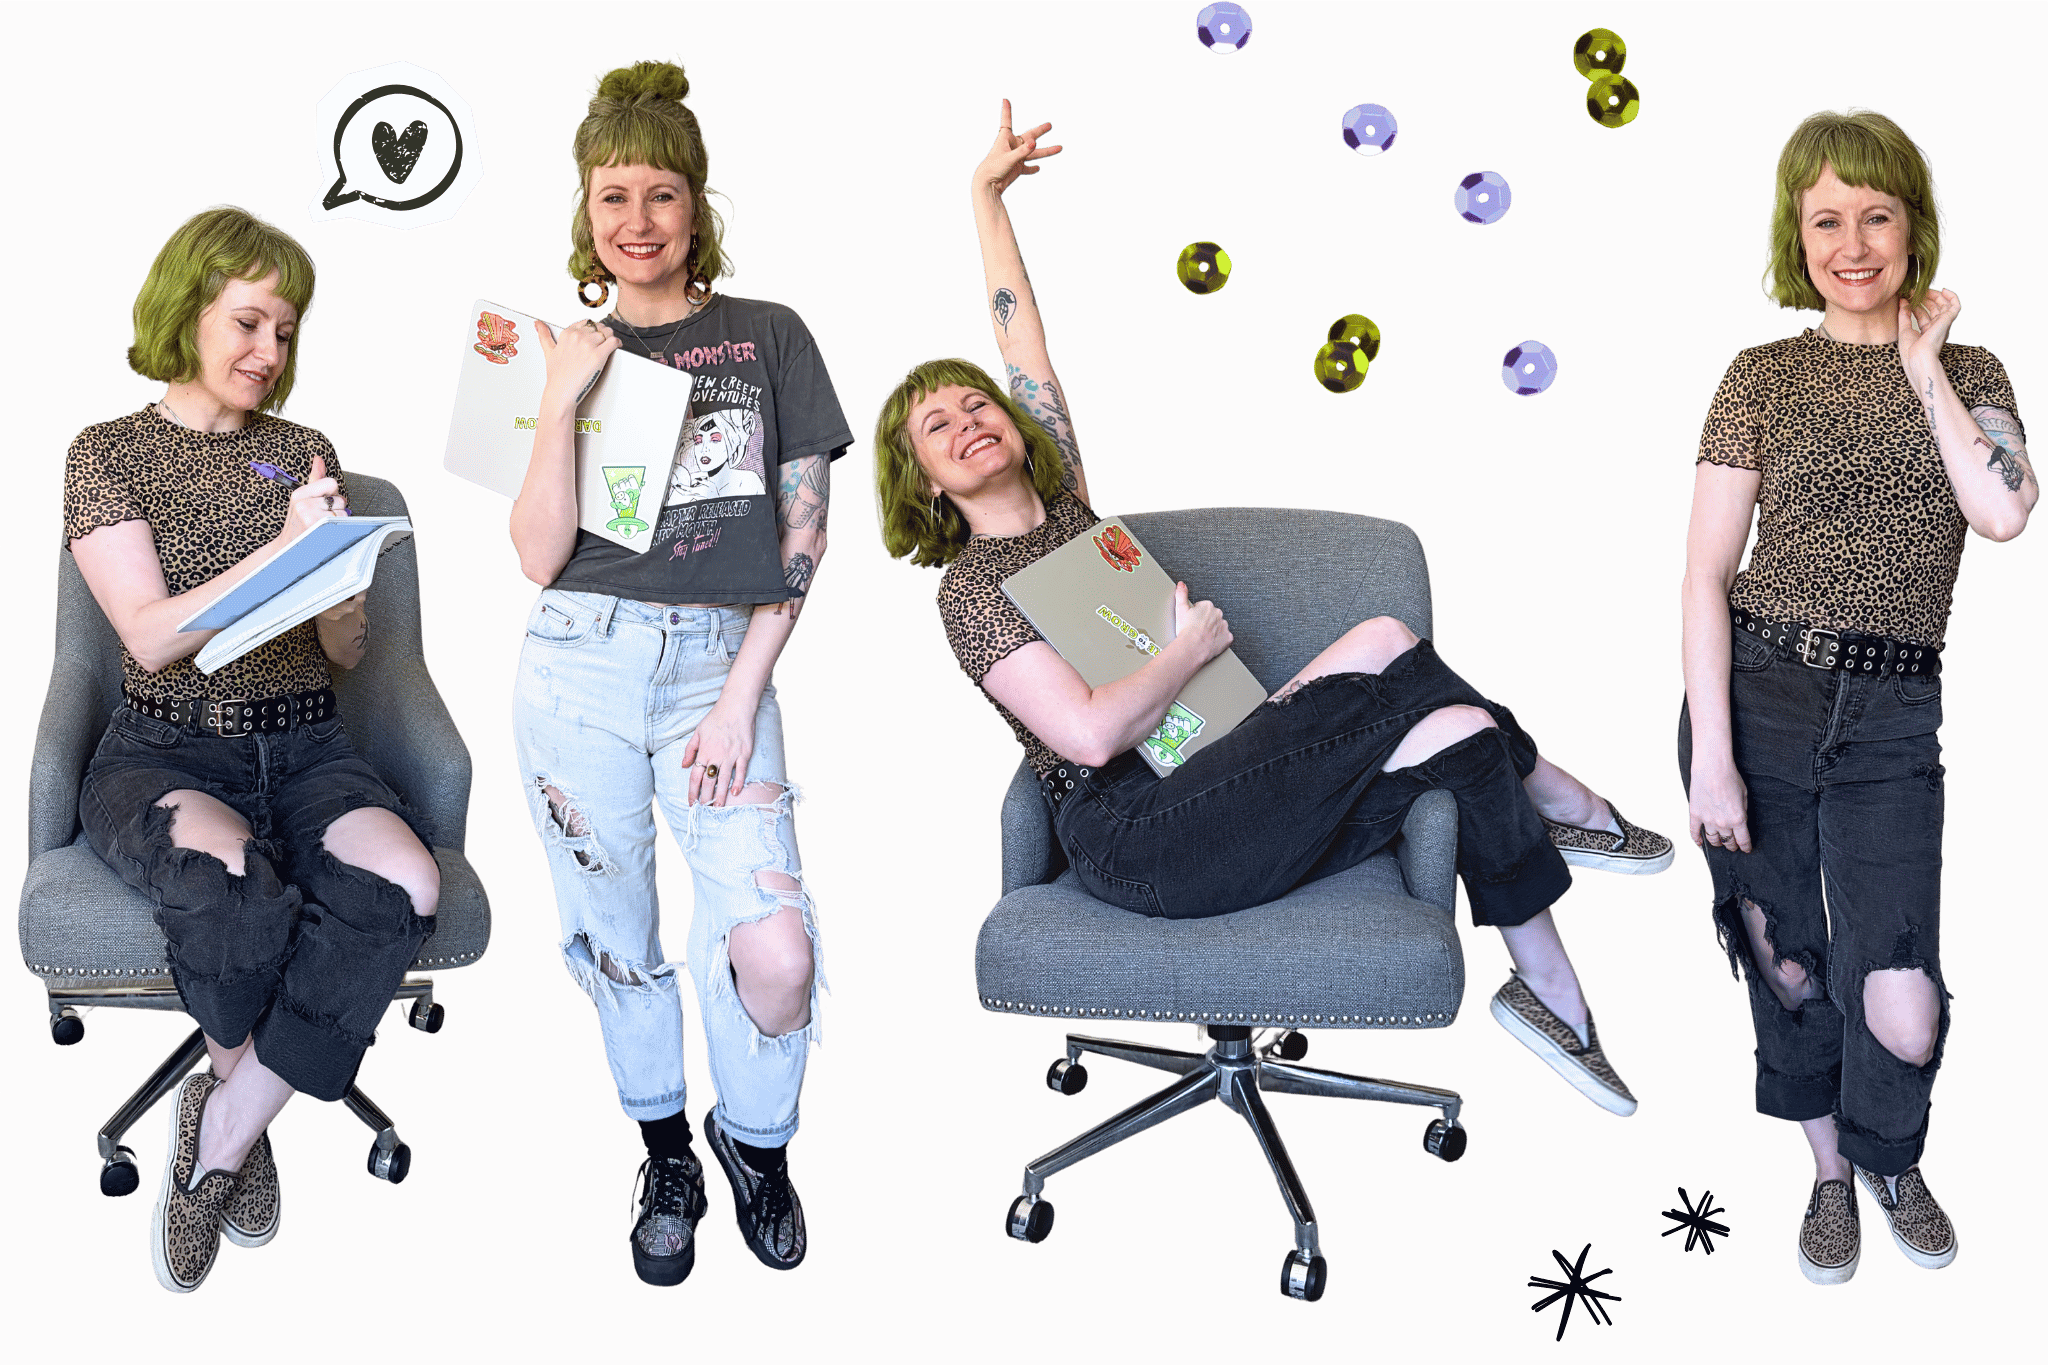
Here’s what you don’t see:
The photos with the black wall were taken in the corner of the living room between the TV and the window where the dog toy basket usually sits.
The cut-out photos were taken in our bedroom because the grey wall and carpet made them easy to edit.
The photobooth photos were taken in our bathroom against the plain side of a blackout curtain and I found the photostrip in Canva.
With a bunch of professional and DIY photoshoots under my belt, here’s how to make the process less stressful and feel more confident in front of the camera.
To start, make a list of what you need photos for: Headshots for your about page, book cover, a big horizontal photo for the top of your website, vertical photos you can use on your social media, images of your workspace, products, tools. Make a list so you don’t end up having to crop your photos and edit because they don’t fit where they’re needed.
Create Pinterest boards: I’m a big fan of Pinterest and I use it every time I start a new project. Create boards for: poses, backgrounds, outfits, and images with the vibes or mood you want to portray. Here’s my board for posing. Do you want to look peaceful, powerful, or professional? In my photos I wanted to look approachable but also bold while showing off my unique style.
For example: It takes a certain type of person to paint your whole living room and kitchen black. I show that in my photos because if you’re that kind of person I know you’ll enjoy what I share and how I share it.
Finding a photographer: I DIY-ed my photos this year but previously I found photographers on Yelp and through location hashtags on Instagram like #sandiegophotographer. You could also email another business owner in your area who has fantastic photos and see who they worked with.
The big benefit (other than high-quality photos) is that photographers have experience so they know exactly what to say and do to make you look good. One photog made fart noises to get me to loosen up….and it worked.
Hiring a photographer: If this is your first time doing “serious” photos for your business, hire a photographer. They will help you get the right location, poses, emotions and they will make you feel more confident than you ever dreamed.
You can expect to pay $300-$500 for a two hour session, wearing two outfits, two locations, and you’ll receive 50-ish photos. Both photographers I worked here in San Diego with had availability in 6-8 weeks. Feel free to share the rates in your area in the comments.
Before the session
Pick the location: Taking photos where you work is the obvious first choice. You on your couch working on your laptop is perfect. If you want to get out and about, photographers will have their favorite local spots so sharing your Pinterest boards will help them narrow in on the ideal location. There are a handful of rental spaces here in San Diego for this purpose, but most coffee shops don’t mind a few photos (and a social media shout out) if they’re not busy.
Gather your props: What do you sell or use in your business? Have a method your clients work through? Print it off as a workbook. Want to feature your desk or office? Clients? Pets?
For my photos I included: laptop, D2G journal, D2G planner, notebook, and phone (which was an old phone case, without a phone, and black paper taped over the open space). Plus Hazel who generally hates me taking her photos but wanted to be in all of them this time.
Try on your outfits, practice makeup and hair: Especially if this is your first photoshoot. There is nothing worse than trying to fix your eyeliner or choose an outfit with a deadline. Sweating off your sticky bra pre-photoshoot is not going to help so get all dressed up and then…
Take test photos: Again, if this is your first photo session, get out that Pinterest board and figure out how to pose. Record a video so you can scroll through and see what looks best. Move around A LOT, be silly. (seriously) Take screenshots so you have a reference of what you like.
Photoshoot day
Turn on a playlist (this one might help) Do not attempt a DIY photoshoot without music especially if you’re alone. I was at home for my current photos so Chappell Roan put me in the exact vibe I wanted.
During the session: Take ONE MILLION photos. It’s better to have an extra 100 to sort through than not enough photos you LOVE. Move in each pose, lean back, laugh, put your arms up, lean into the camera, turn your chair sideways, sit on the floor, lean against something, look in different directions not just at the camera. Make 100 different faces.
After the session: You will either feel exhausted and need to be horizontal and order food immediately (that’s me) or you’ll feel so confident and cute you’ll need to go out to celebrate. Plan accordingly <3
The photos: Your photographer will go through the gajillion photos they snapped, pull out the top shots, and edit to make you look your best. After a couple weeks they’ll send over a link to a portal to download all your pics and save them to your own drive.
If you DIY-ed things, editing is your job. Yay! First, delete all the garbage shots, eyes closed, awkward faces you’re just finding out that you make. Then pick the best ones and your favorites out of those. You’ll end up with three folders: all the photos (minus the garbage ones), the best photos, and your FAVES, the ones you’ll use for most of your stuff. I dump the faves into Canva for easy access when I’m making blog posts or social media images.
Lastly, don’t forget to tag your photographer in your site footer, image caption, social media, and site credits for the next solopreneur who needs photos!
OK - let me know in the comments if you’ve got more questions or need a boost of confidence.